


Mini Fluted Wall Panels
Mini Fluted Wall Panels
Ends: Loading...
10% Off £75+ code: PANEL10
20% Off £200+ code: WALL20
25% Off £400+ code: ROOM25
Couldn't load pickup availability
Mini Fluted Panel Features:
- Made-to-order in the UK 🇬🇧
- Paintable & moisture-resistant
- Cut to size available
- Easy installation
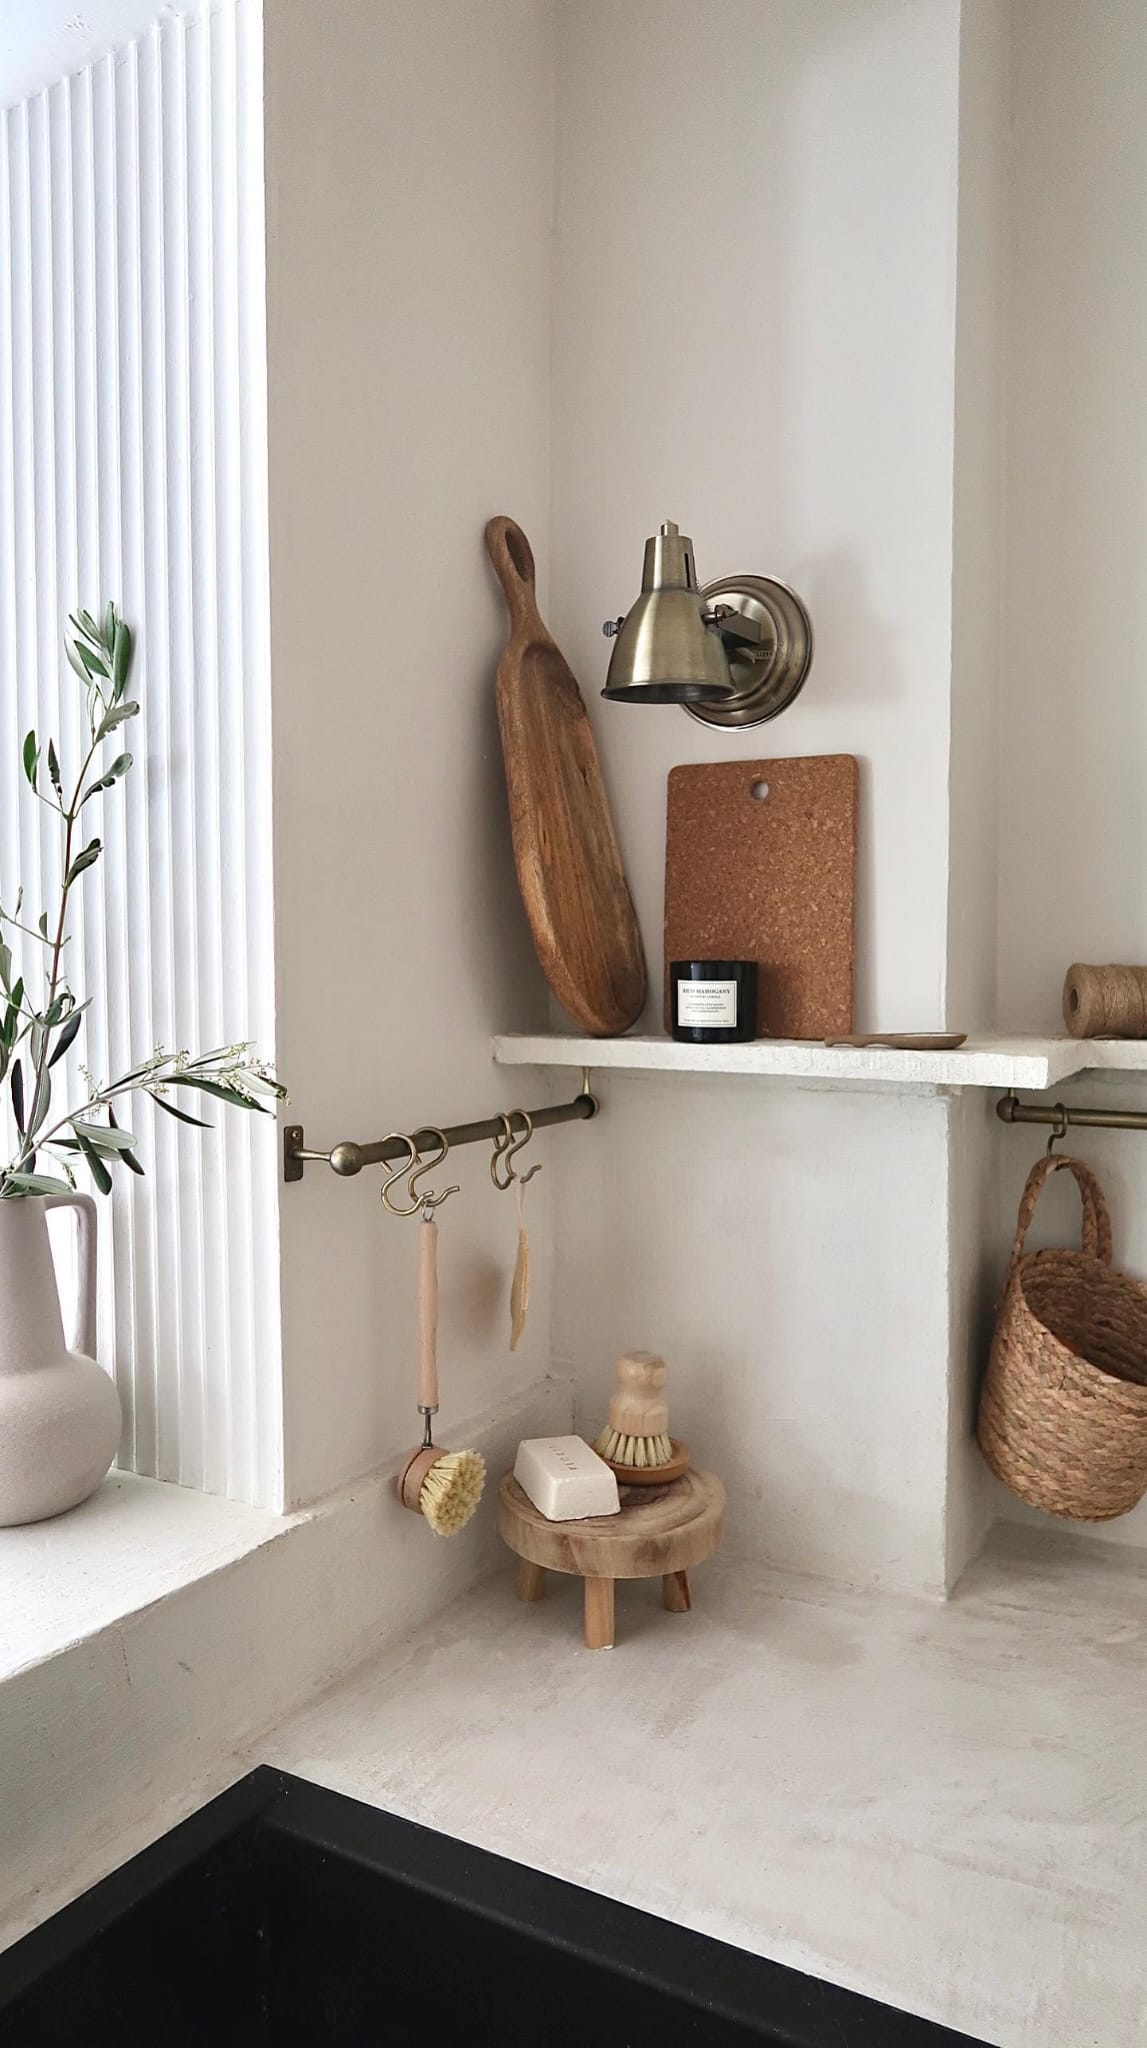
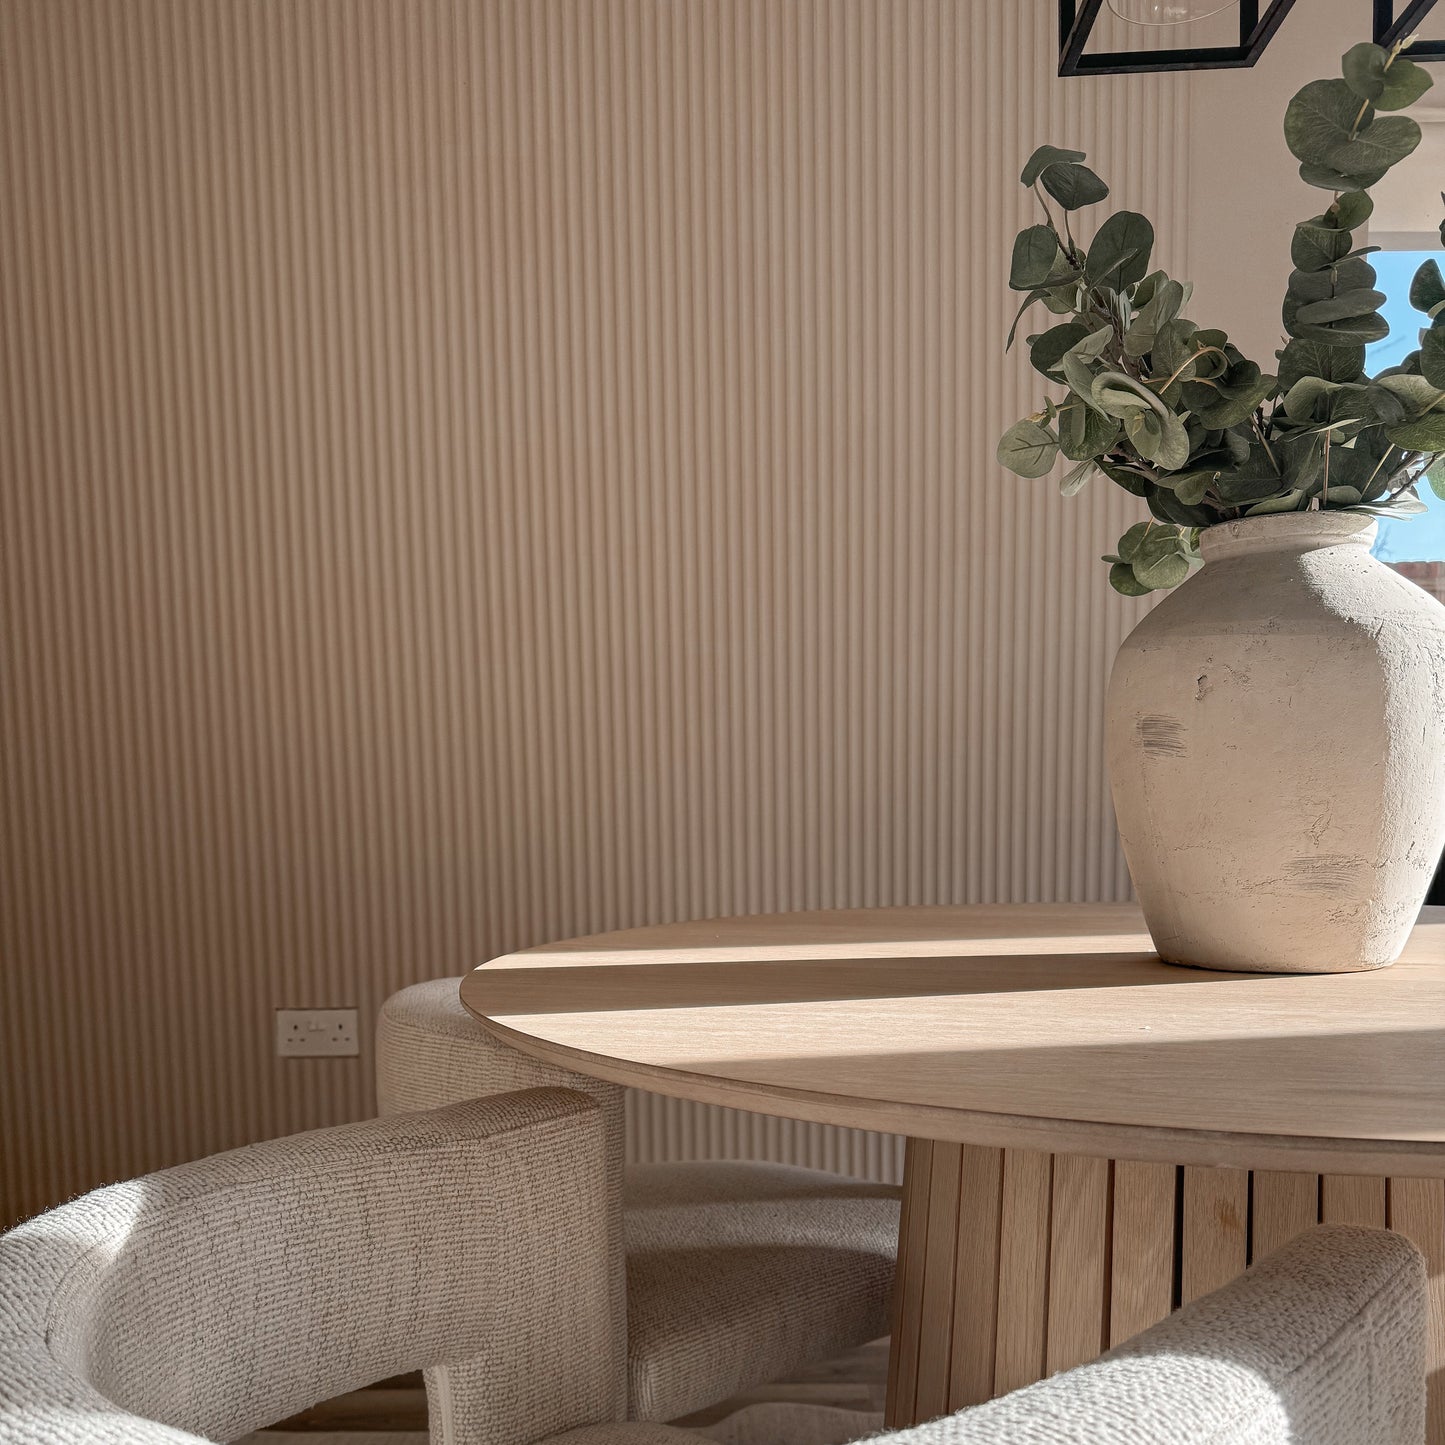
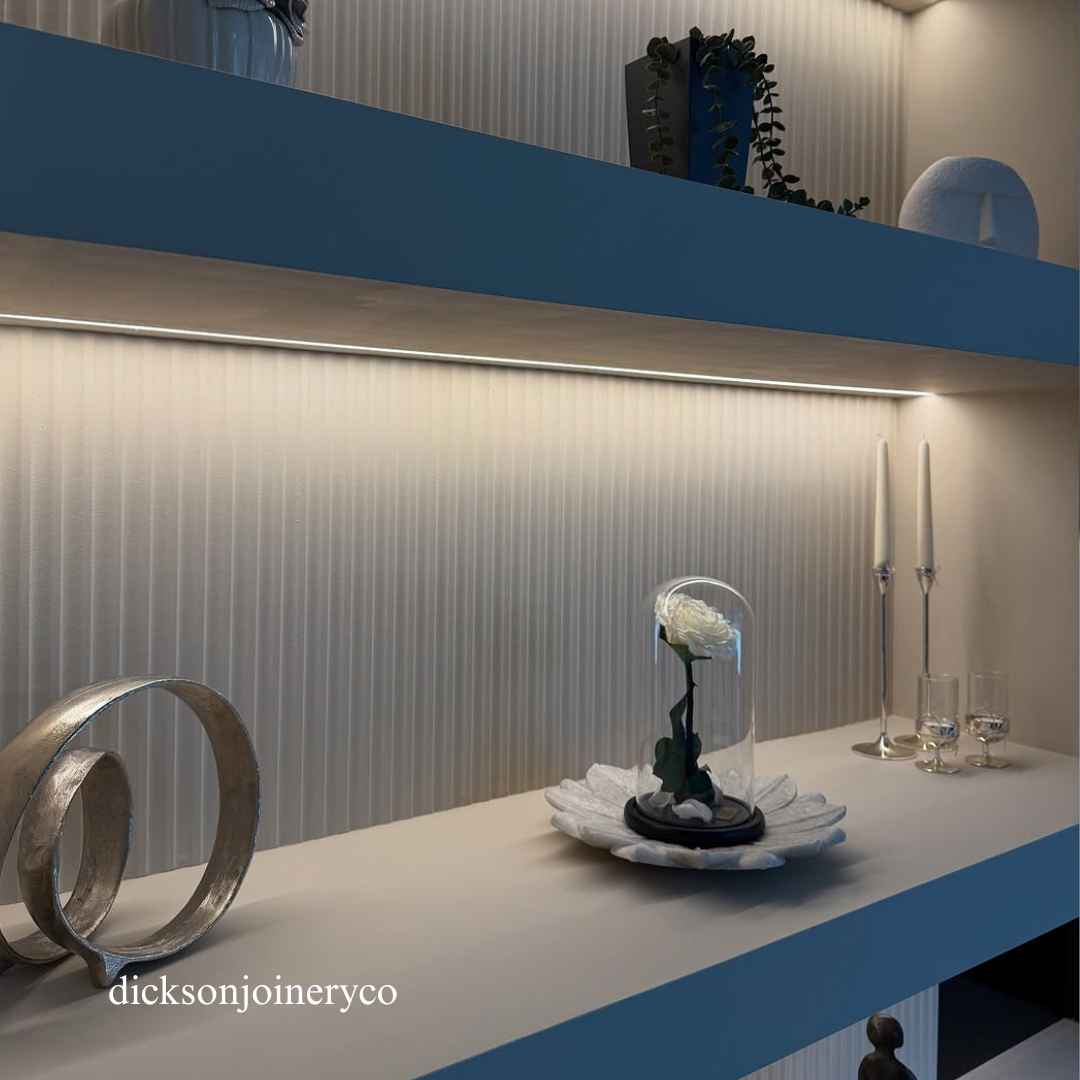
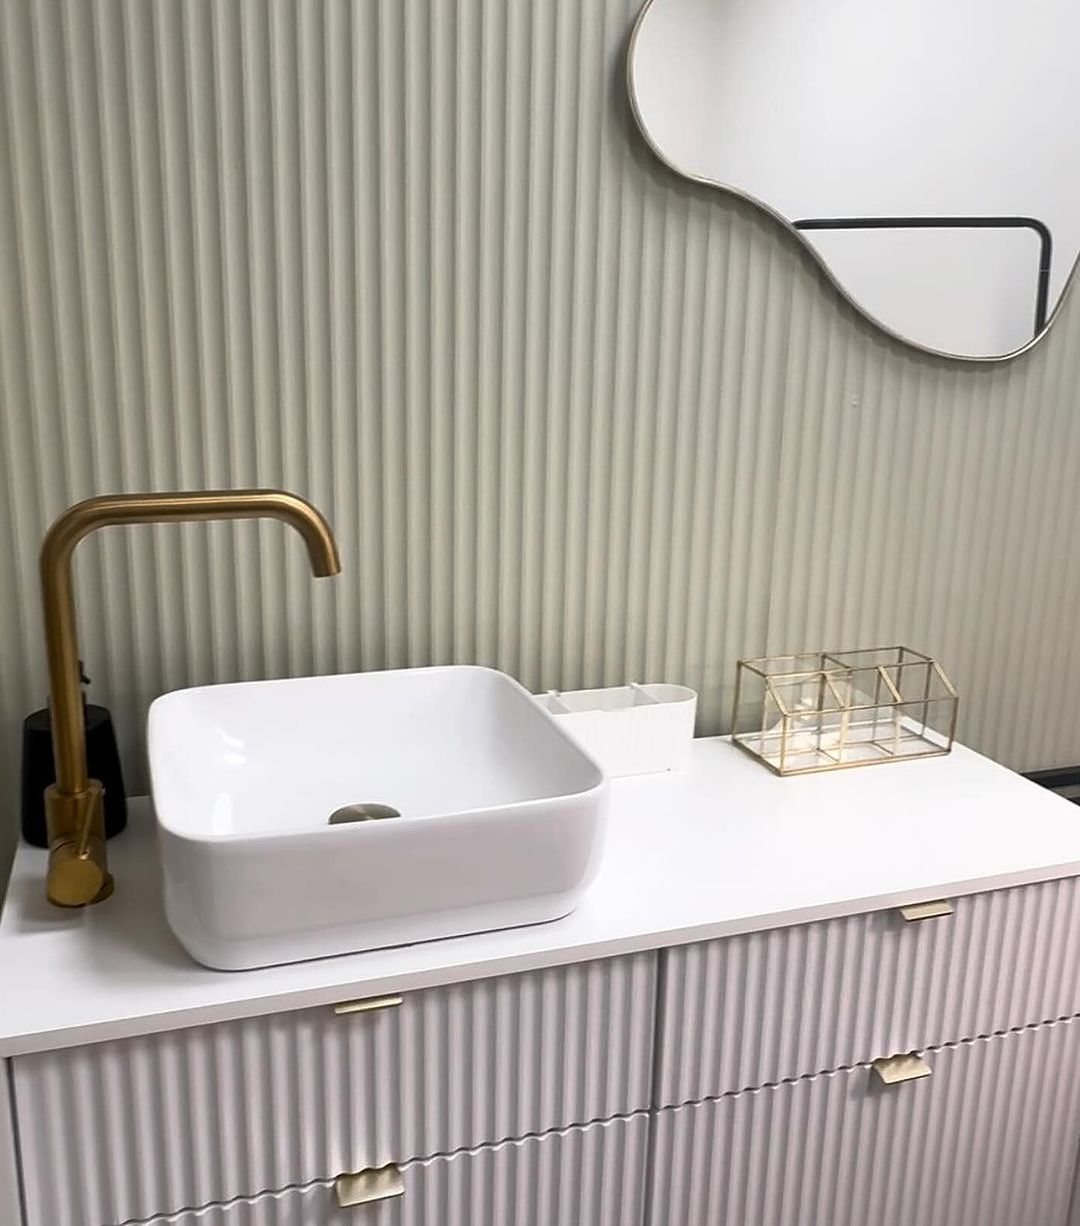
When classic meets contemporary. Our gorgeous Mini Fluted Wall Panels are made using moisture-resistant MDF, so can even be used in your bathroom. Prime and paint them in any shade to match your colour scheme.
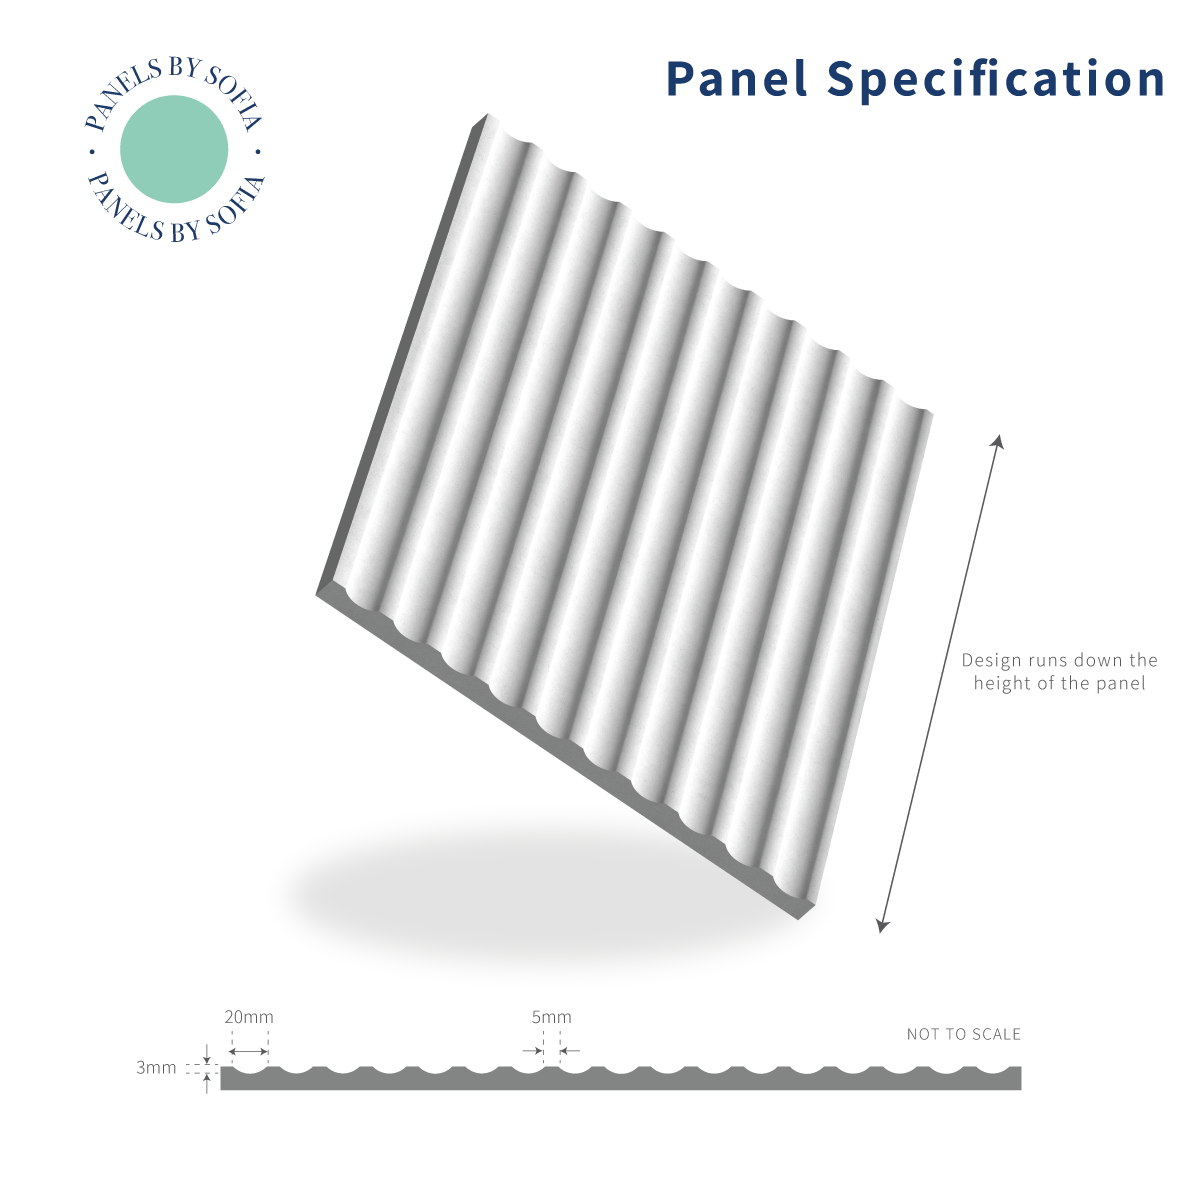
Available in portrait and landscape orientations. Choose portrait for full height panels or landscape for wider ones (a great choice for half wall panelling). The fluted design runs vertical for both.
Take advantage of our cut-to-size service for bespoke dimensions.

Not ready to commit yet? Order a Mini Fluted Panel Sample.
Panelling a commercial space or near a heat source? Check out our Fire Rated Wall Panels for enhanced safety.
The Design
The Design
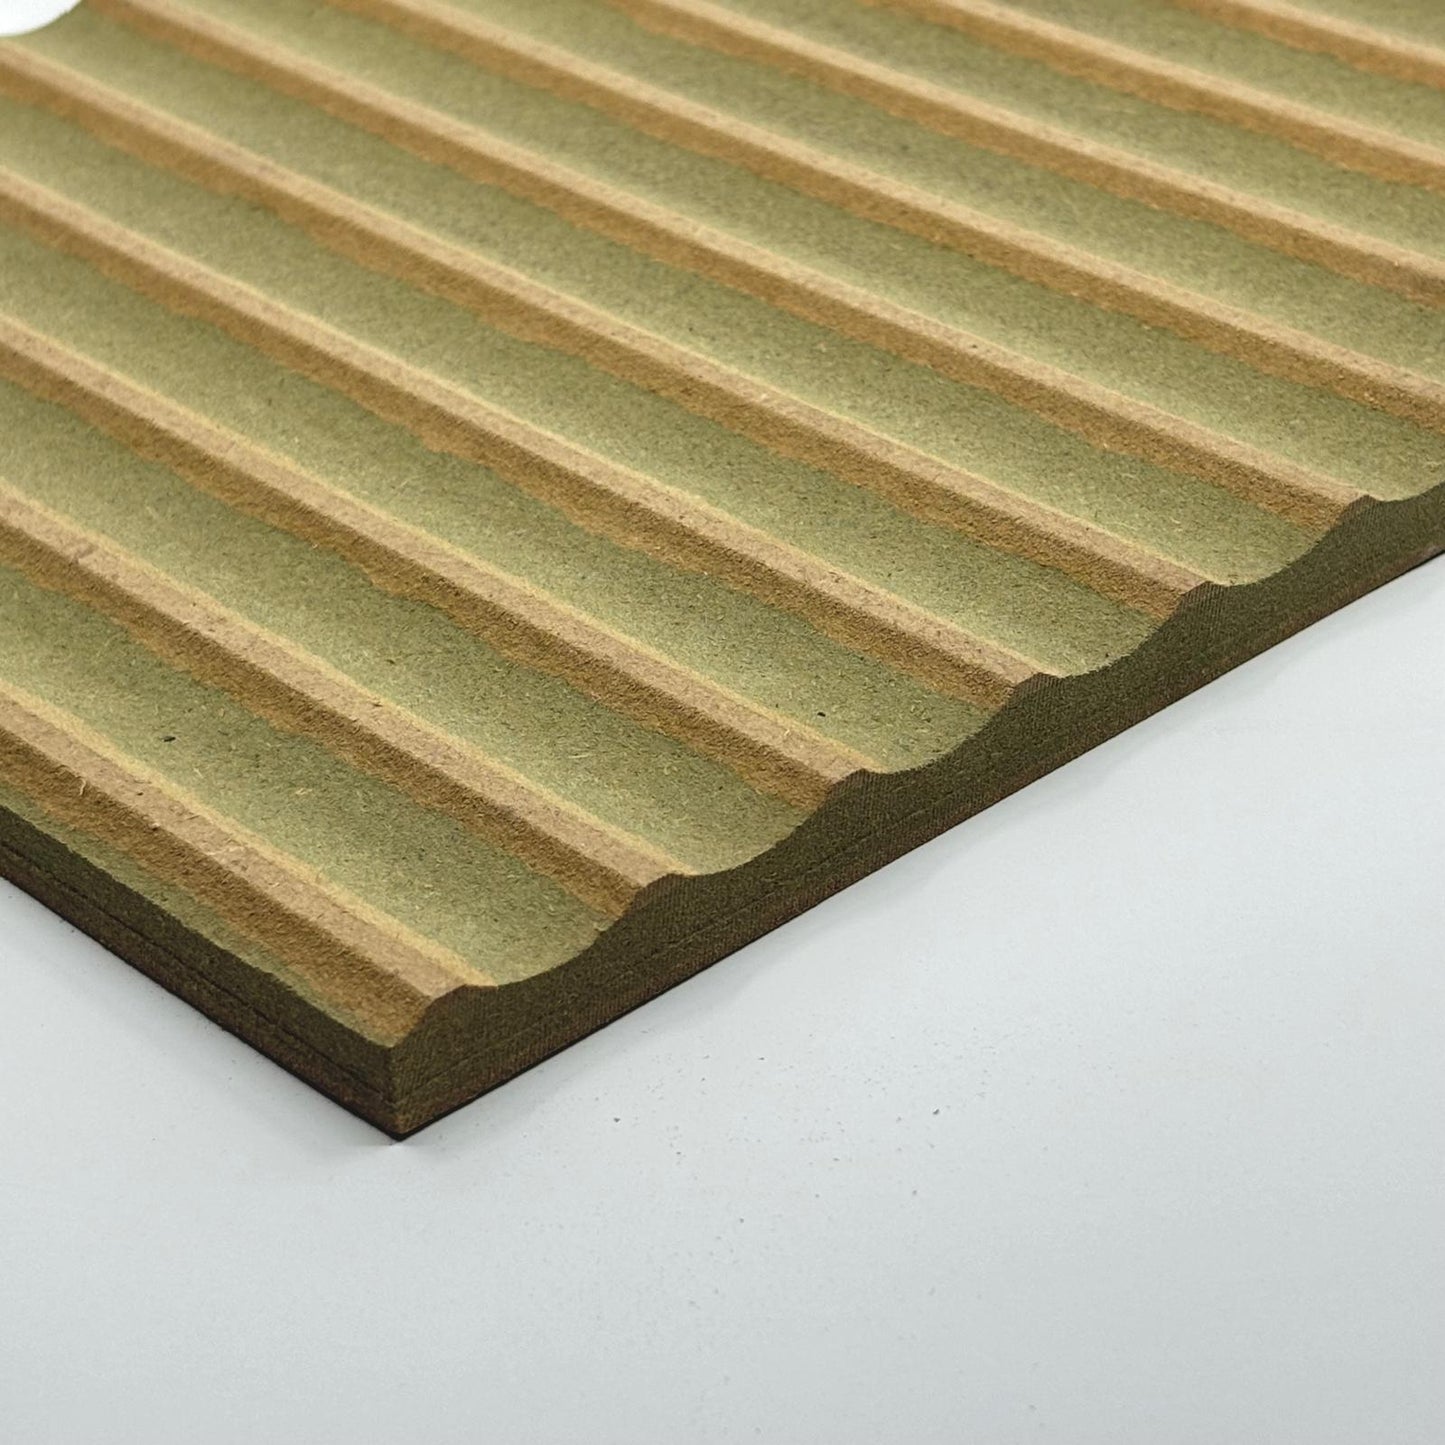
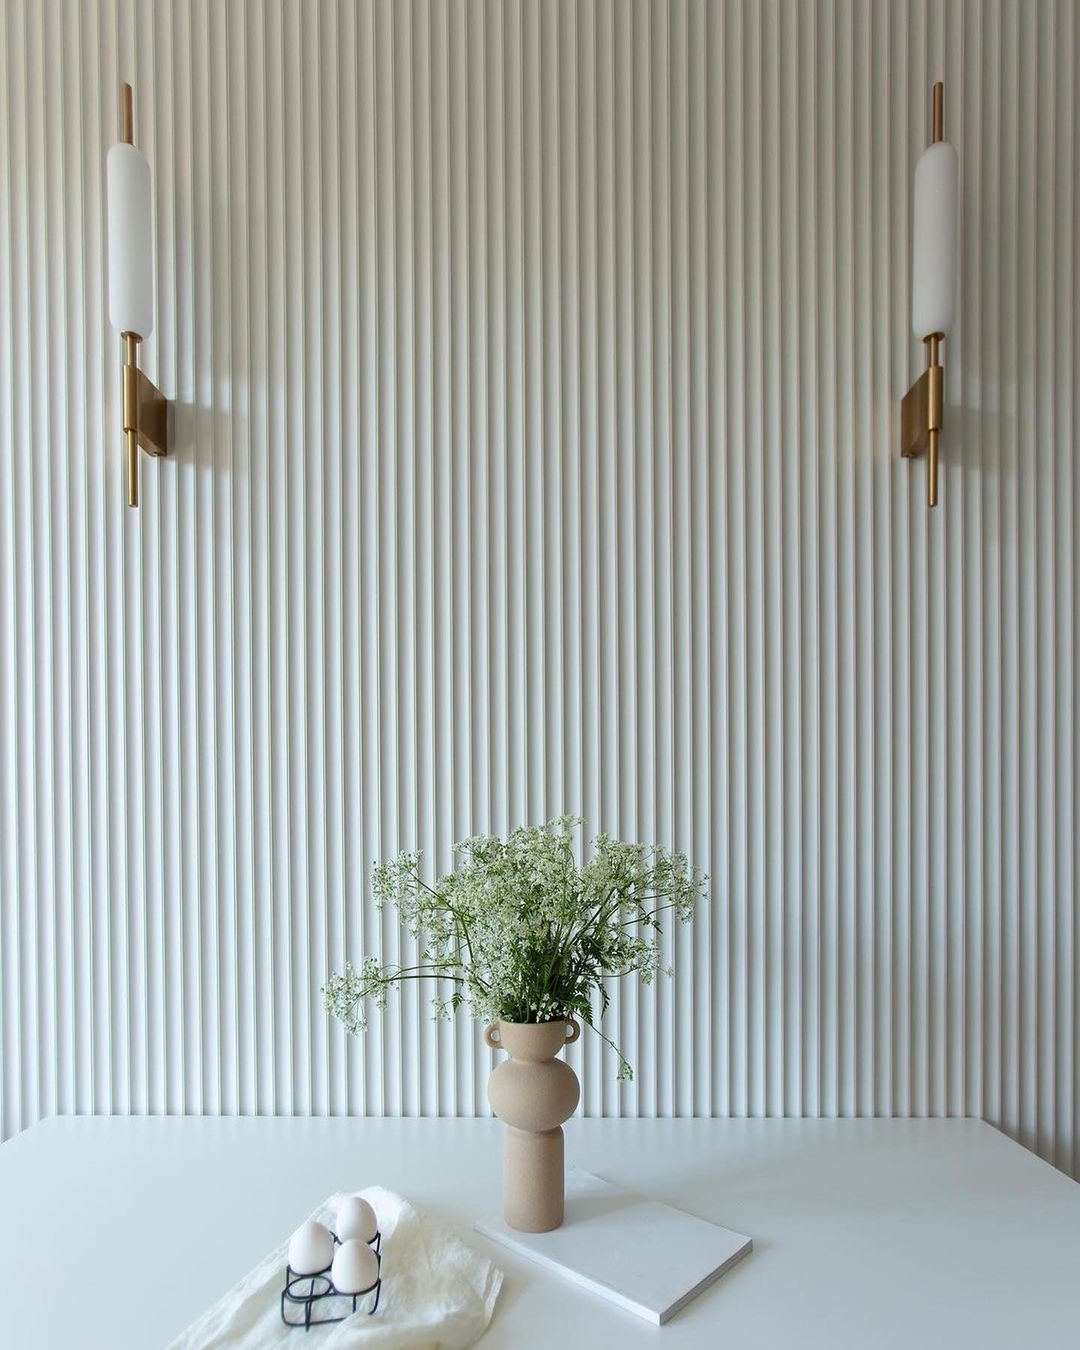
Our mini fluted wall panels feature 3mm deep flutes, 20mm wide, with 5mm spacing for a refined, textured look. Their subtle detailing adds depth and sophistication, perfect for contemporary, Scandinavian, or mid-century interiors.
Ideal for living rooms, bedrooms, hallways, dining areas, and smaller spaces like home offices or dressing rooms. They enhance walls, cabinetry, or feature areas without overwhelming the room.
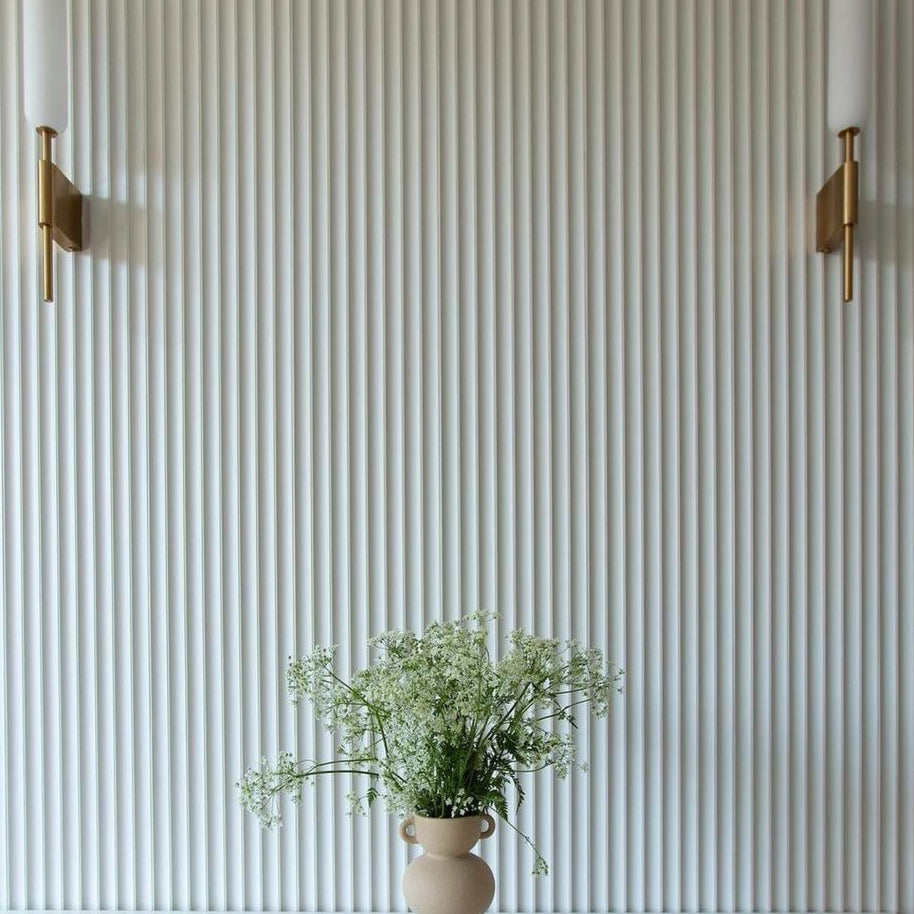
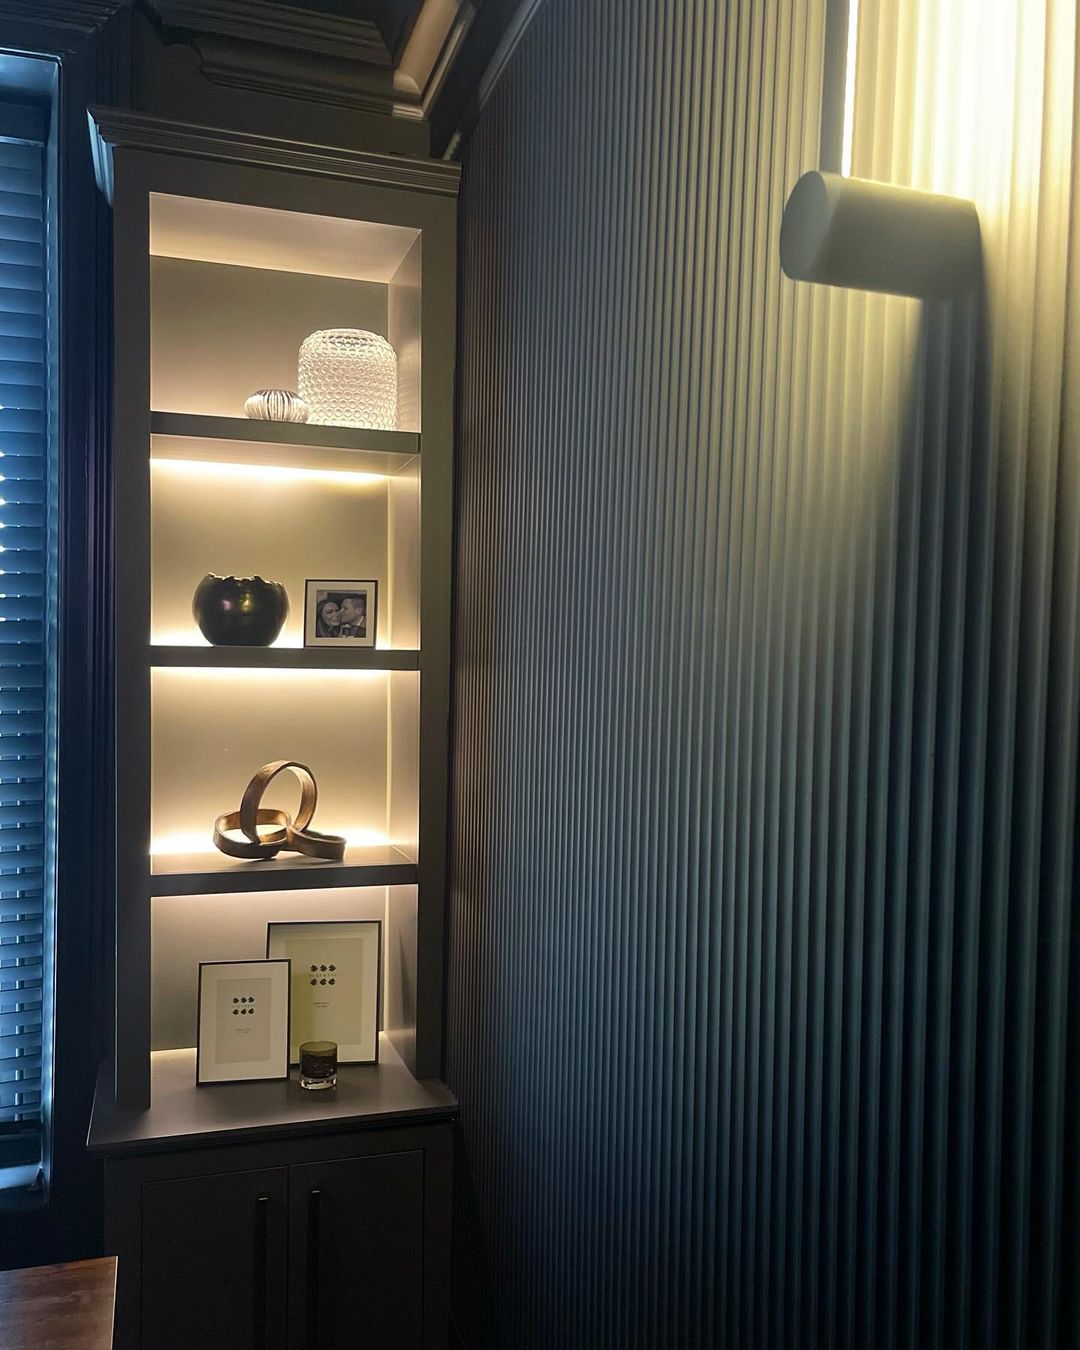
For a timeless look, paint in soft neutrals. For drama, choose deep greens, navy, or charcoal to make the fluting stand out.
Please note: The profile shown reflects a new cutter. Over time, sharpening may slightly soften the shape, and machining may cause minor bowing.
Portrait or Landscape?
Portrait or Landscape?
When purchasing mini fluted wall panels,
choosing between portrait or landscape orientation will determine how they
enhance your space. Both options feature a vertical fluted design, but their
proportions create different effects depending on your interior needs.
Portrait Mini Fluted Panels
✔ Designed for floor-to-ceiling panelling, making rooms feel taller and more open
✔ Creates a sleek, continuous flow, perfect for modern and traditional interiors
✔ Best for feature walls in living rooms, hallways, and bedrooms
Landscape Mini Fluted Panels
✔ Ideal
for half-wall panelling, adding depth below a dado rail
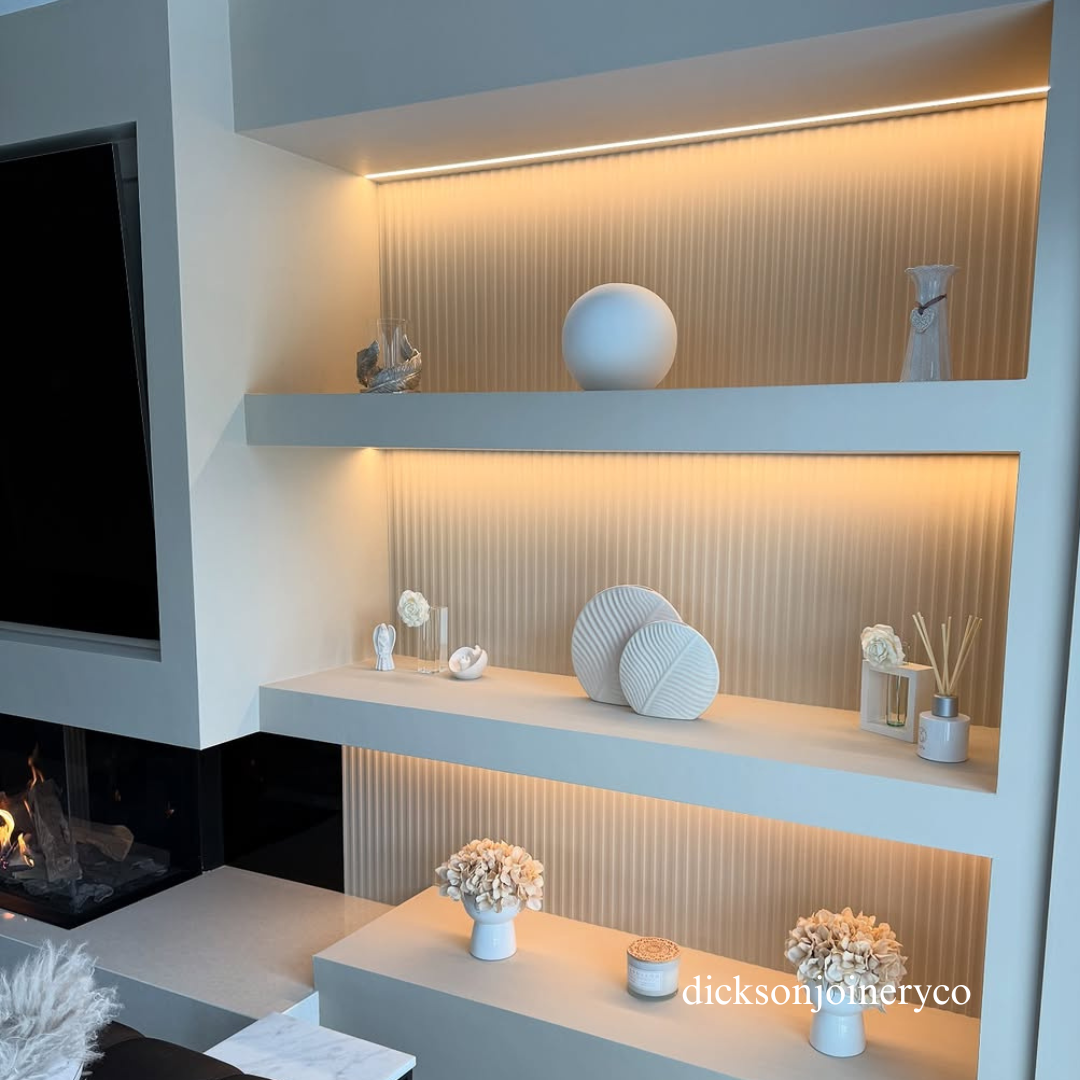
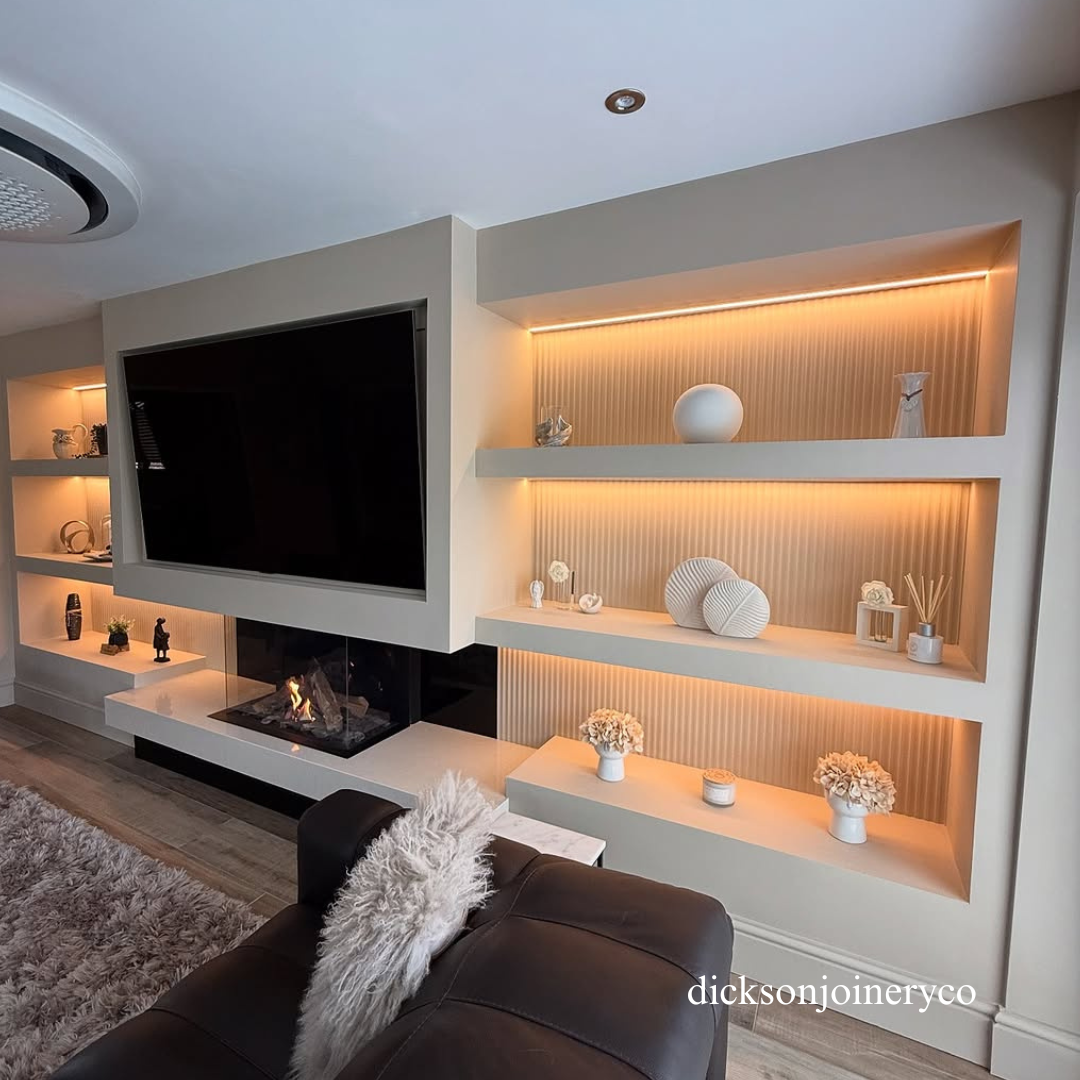
✔ Great for media walls, shelving, and built-in units, offering a refined, textured
look
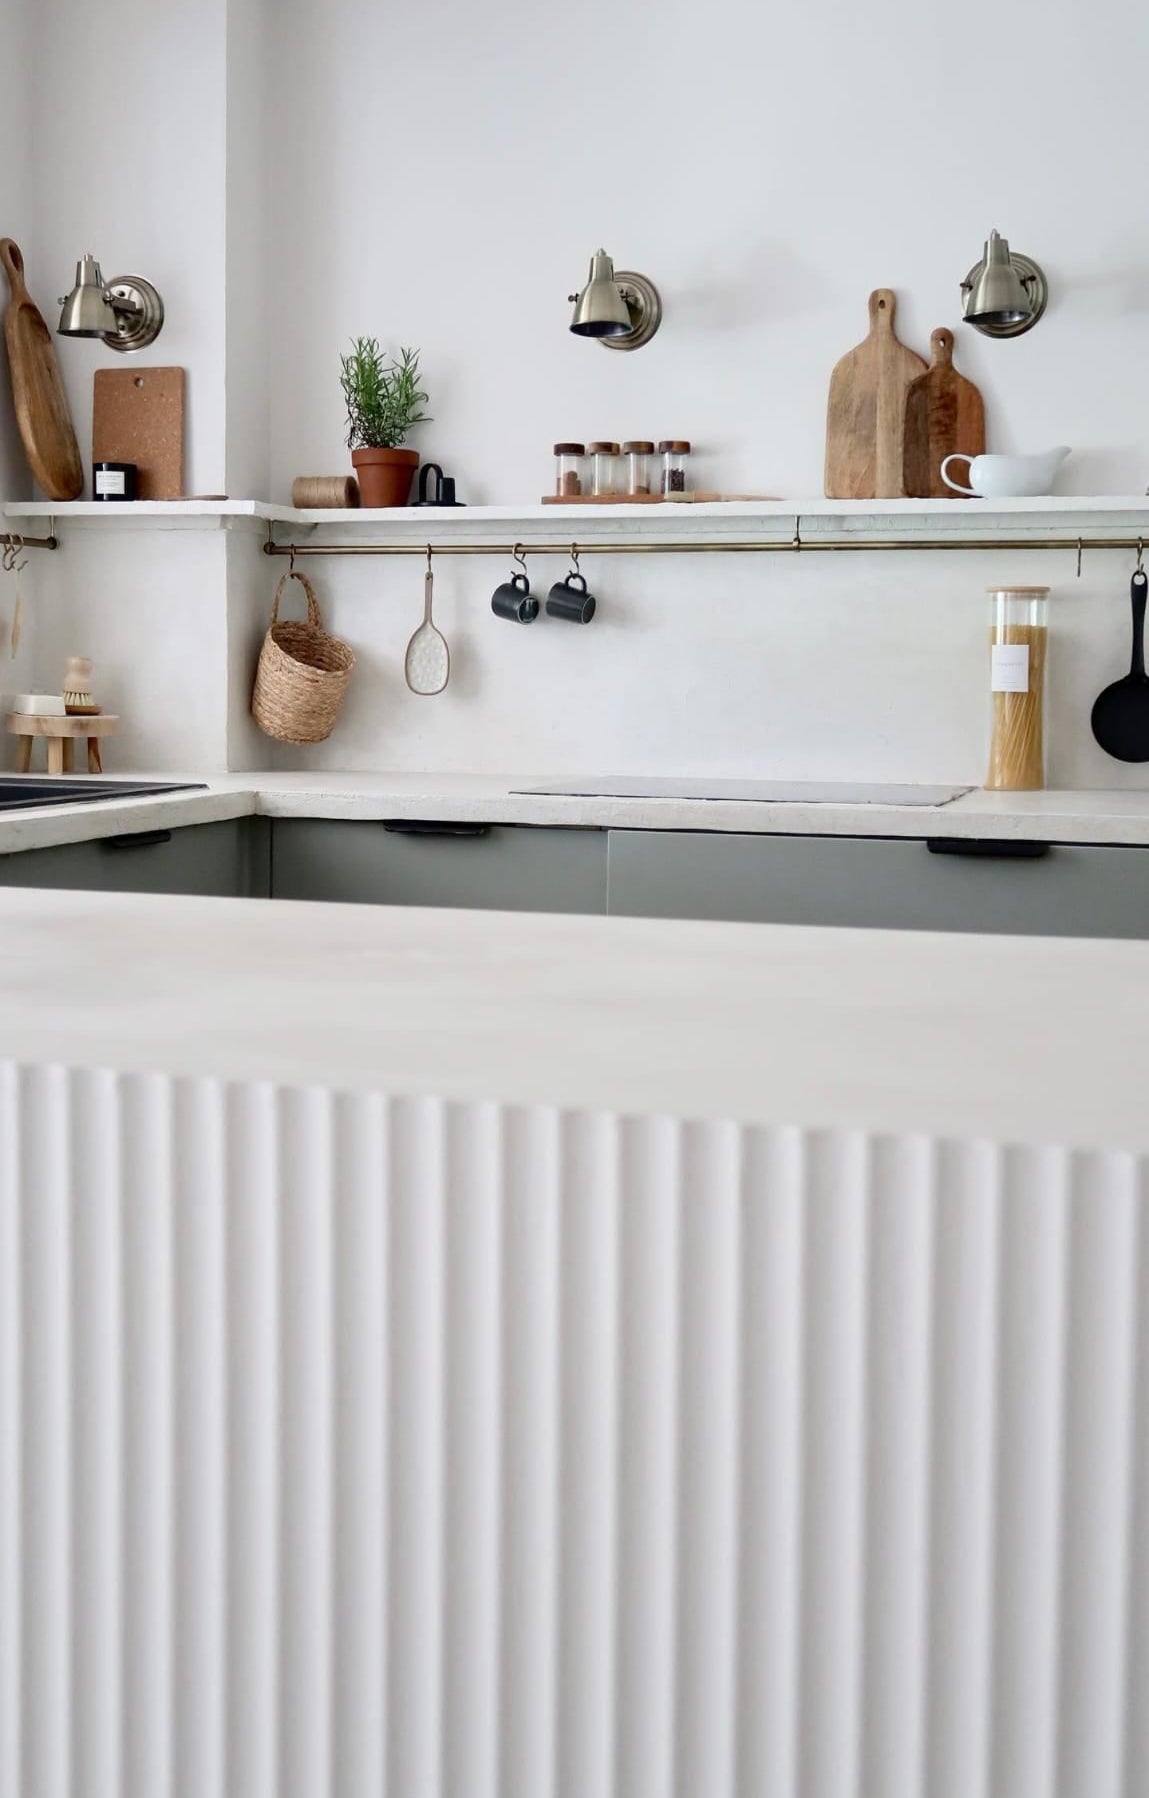
✔ Perfect for kitchen islands and breakfast bars, bringing subtle dimension to your
design
Our custom-made mini fluted MDF wall panels are available in both orientations to suit your project.
Our Cut To Size Service
Our Cut To Size Service
Our Cut-to-Size Service ensures a perfect, custom fit for your project. Each panel is precisely cut, saving you time, effort, and the expense of hiring a professional.
Get your bespoke panels here: Cut-to-Size Wall Panels
Material
Material
This wall panel is made from Finsa Hidrofugo MDF, which has a green core and is a high-performance, moisture-resistant MDF designed for exceptional durability. Treated to withstand humidity and moisture, this MDF is perfect for use in areas such as kitchens, bathrooms, and other high-moisture environments.
Benefits of Finsa Hidrofugo MDF:
- Moisture-Resistant: Designed to resist warping and swelling, even in humid conditions.
- Durability: Provides a strong, long-lasting base for your wall panels.
- Smooth Finish: Delivers a flawless surface for painting or laminating, enhancing visual appeal.
- Sustainable: Produced using eco-friendly materials, promoting sustainable building practices.
How To Install
How To Install
1. Measure Your Wall Panel Area
Begin by measuring the area where you plan to install the wall panels to ensure accurate dimensions. Cut the panels as needed to fit your space, or use our cut-to-size service for a precise fit.
Prepare the Panels
Apply a primer to create a consistent base, which will improve paint adhesion and help achieve a flawless finish.
Paint Your Panels
Apply your chosen paint colour to the wall panels, ensuring they are fully dry before installation.
Apply Adhesive and Position the Panels
Apply a grab adhesive to the back of each panel. Carefully position the panels on your prepared surface, pressing firmly into place. Use tape or temporary supports to hold them until the adhesive sets.
Check out our full step-by-step installation guide here.