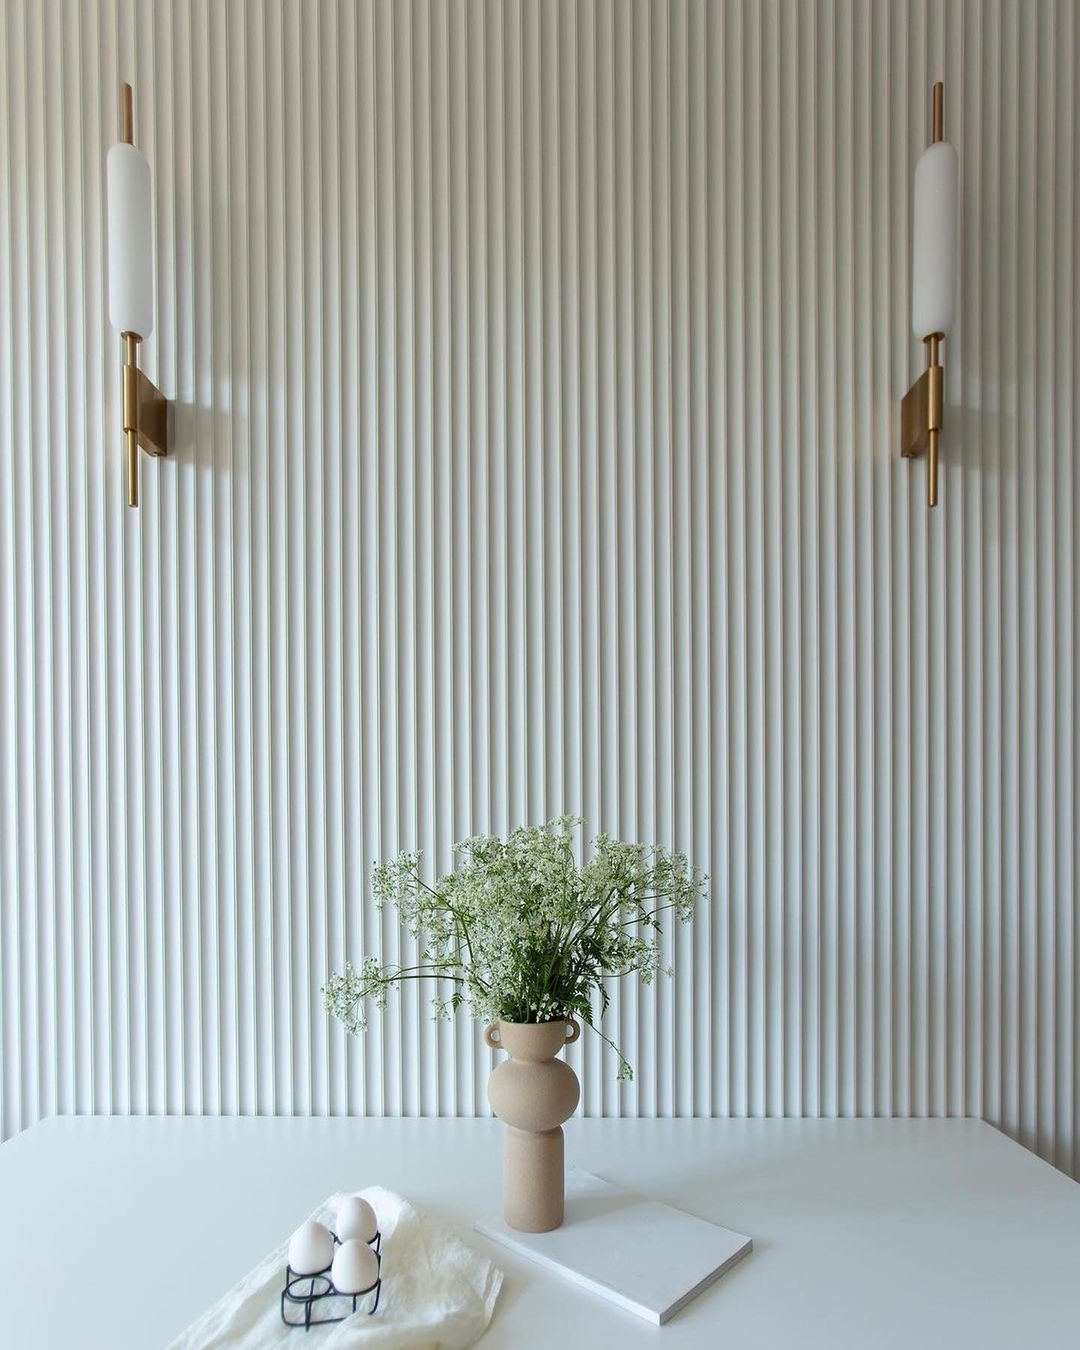
How To Install Your Wall Panelling
Installing your wall panels is super straight-forward. However, to ensure you achieve a professional, flawless finish, we’ve put together a comprehensive step-by-step to help you along the way.
Before you get started, make sure you have your supplies:
- Light to medium grit sandpaper (optional)
- Primer
- Paint
- Paintbrushes (an angular or foam brush for deep grooved panels)
- Dust sheet
- Clean cloth
- Panels by Sofia Grab Adhesive and Caulking Gun
- Screwdriver and nails (optional)
If you're working on a transformation project, don't forget to take a before photo!

Step 1. Secure To Your Surface - if you’re mounting your panels to a tricky to reach area, follow steps 2 - 4 first
- Our wall panels don’t always need sanding. However, if they seem a little rough or have any imperfections, we’d recommend sanding with a medium to fine grit sandpaper. This also helps the primer grip better.
- Apply grab adhesive evenly to the back of each panel.
- Position the panel on the wall or surface and press firmly.
- Seal any gaps between panels with additional adhesive for a seamless finish. Wipe away any excess adhesive with a damp cloth.
- Follow the adhesive's drying time instructions—typically, at least 24 hours. For added stability (especially in high-traffic areas or with thicker panels) you can secure the corners with nails.

Step 2. Apply Primer
Priming creates a uniform base and improves paint adhesion. Apply a thin, even coat of primer to each panel using smooth strokes to avoid drips and streaks. Allow it to dry for a few hours.
Step 3. Paint The Panels
It's time to add colour!
- Choose a high-quality paint in your desired colour and finish (matte, satin, gloss, etc.).
- Using a clean brush to apply the paint in thin, even coats. Multiple thin coats are better than one thick coat to avoid drips and ensure a smooth finish. Allow each coat to dry before applying the next.
- After achieving your desired coverage, inspect the panels for any missed spots or imperfections and touch them up as needed.

Congrats - You Did It!
Sit back, have a cuppa and admire your handy work. Don't forget to take a photo of your finished result and tag @panelsbysofia to be featured on our grid.

