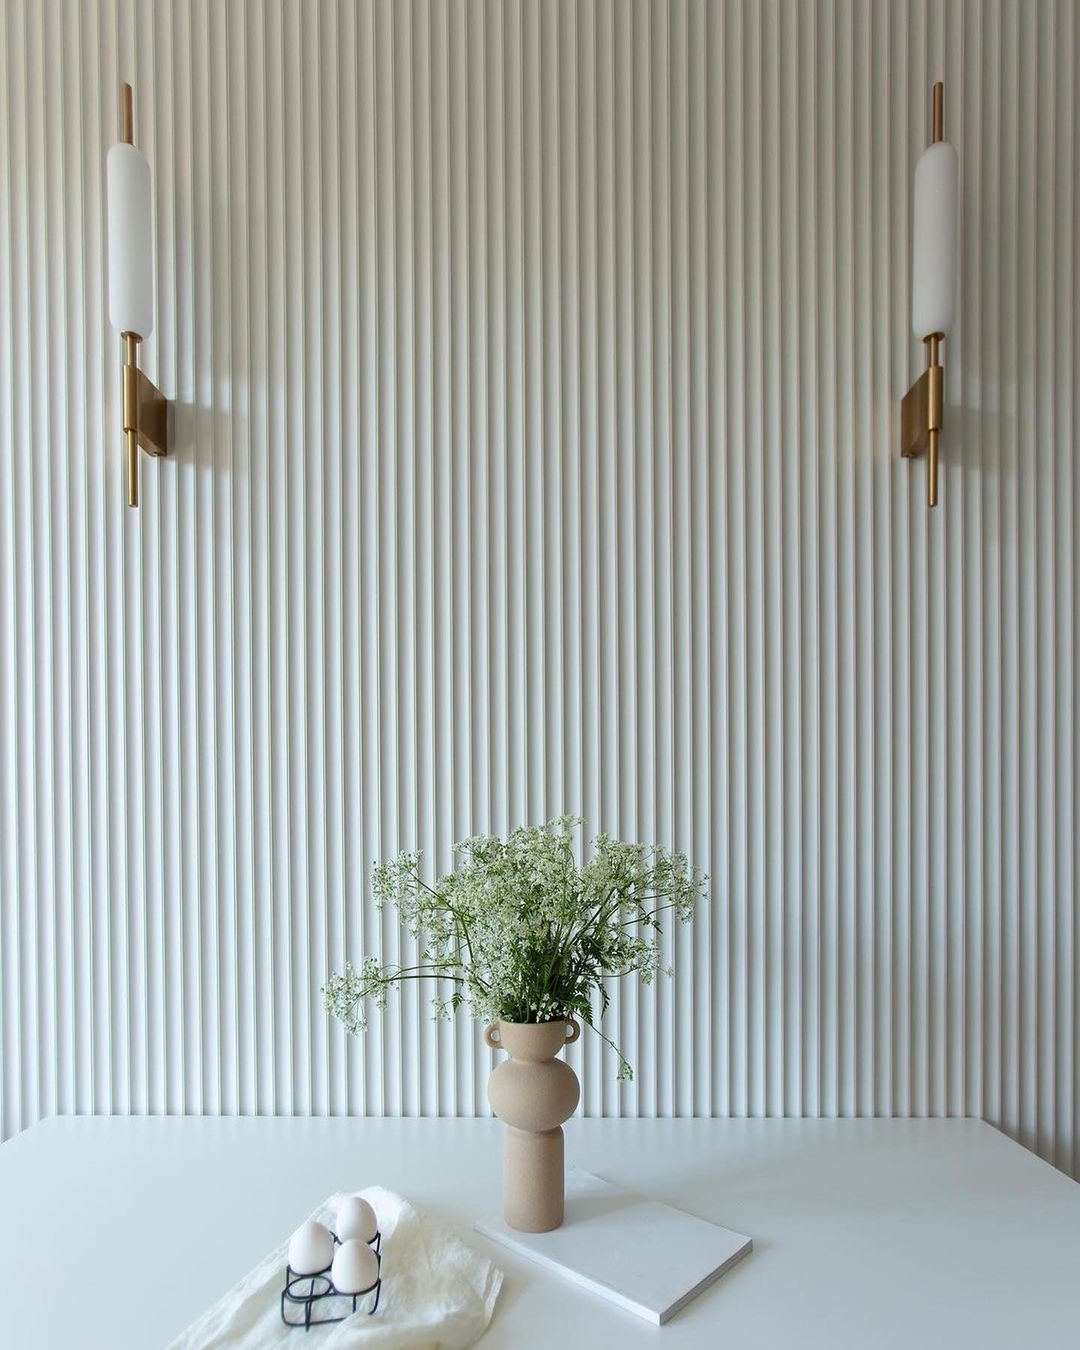
How to make a Shaker Wall
Shaker walls are all the rage right now and for good reason. They’re timeless, cost-effective, and surprisingly easy to install. Whether you’re upgrading a single room or creating a feature wall throughout your home, our Shaker Wall Panelling Kits make it easier than ever to get that classic look.
Here’s everything you need to know, from how to calculate the number of strips you'll need, to installing them step-by-step.
How Many Strips Do I Need for a Shaker Wall?
Before you get started, it’s a good idea to plan your layout and calculate how many strips you’ll need.
1. Measure your wall
Start by measuring the width and height of your wall. Our shaker strips come in a standard length of 1220mm.
2. Horizontal strips
To calculate how many horizontal strips you’ll need across the wall, divide the total width of the wall by 1220mm (or your desired strip length if cutting to size). This tells you how many strips are needed to span the width.
3. Vertical strips
Then determine how many vertical strips you’ll need. A spacing of around 500mm between strips is typically used to achieve the classic shaker look. Divide the wall width by your chosen spacing to work out how many vertical strips are needed.
Tip: Always allow for a little extra, especially if you’ll be cutting strips to custom sizes.
How to Make a Shaker Wall in 5 Simple Steps
Step 1: Gather Your Materials
You’ll need:
- Shaker Wall Panelling Kit
- Adhesive
- Tape measure
- Spirit level (or laser level)
- Saw
- Sandpaper
- Paint
- Pencil
And don’t forget a before photo if you want to show off your transformation later!
Step 2: Plan Your Design
Measure your wall from side to side and top to bottom. Decide on your spacing for both vertical and horizontal strips. Sketch out your design on paper, then pencil it onto the wall using a level. A laser level will help you get precise lines with less effort.
Step 3: Mount the Strips
Apply adhesive to the back of each MDF strip and press it onto the wall. Start by bordering the outer edges, then work your way through your design. Double-check each strip is straight using your level – neatness here pays off in the final result.
Step 4: Sand and Paint
Once all the strips are in place, sand any rough edges to get a clean, professional finish. Then paint your wall and strips in your chosen colour – this really brings the shaker style to life.
Step 5: Sit Back and Admire
You’ve done it! Time to relax with a cuppa and admire your handiwork. Don’t forget to take that after photo 📸✨.
Ready to get started?
Our Shaker Wall Panelling Kits are made to make DIY easy – with pre-cut strips and everything you need to create a statement wall that feels timeless.


