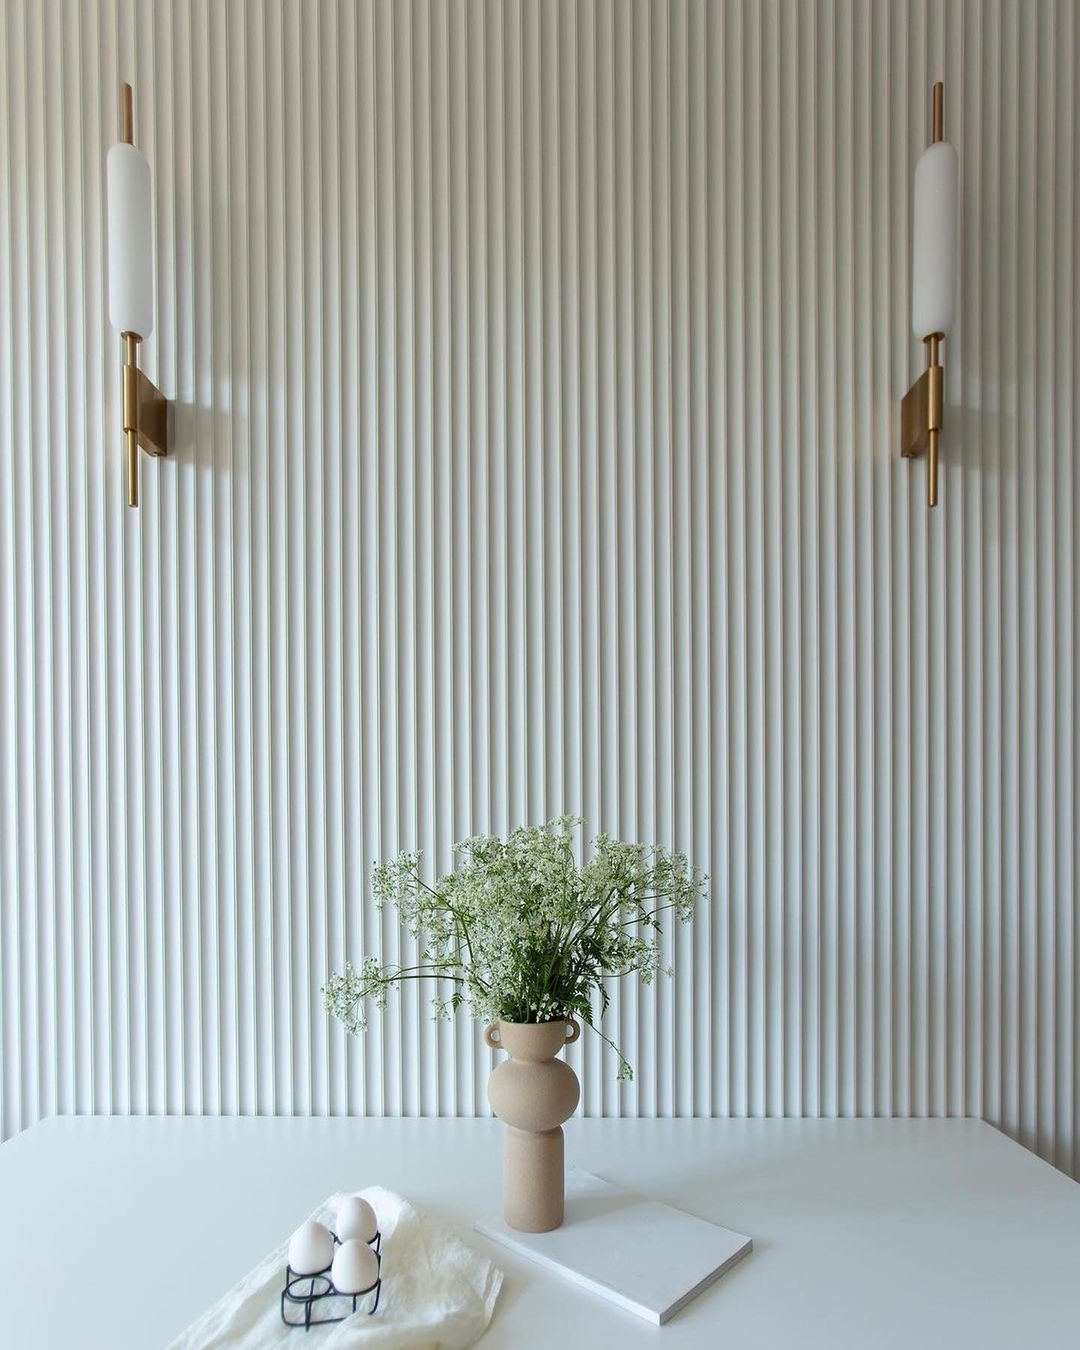
So streichen Sie getäfelte Wände: Eine vollständige Anleitung
Wandvertäfelungen sind einer der größten Einrichtungstrends der letzten Jahre und verleihen jedem Raum sofort Tiefe, Struktur und dekoratives Flair. Sobald Ihre dekorativen Paneele angebracht sind , können sie mit der richtigen Lackierung noch weiter aufgewertet werden – egal, ob Sie ein zeitloses, neutrales, modernes Statement oder etwas dazwischen anstreben.
Und das Beste daran? Farbe gibt Ihnen die Freiheit, Ihren Look so oft zu ändern, wie sich Ihr Stil weiterentwickelt. Mit der richtigen Herangehensweise ist es ein unkompliziertes Projekt, das Ihren Raum komplett verwandeln kann – so geht’s.
Welche Ausrüstung Sie benötigen
Zum Streichen von Verkleidungen benötigen Sie keine aufwendige Ausrüstung, aber die richtigen Grundlagen machen den Unterschied:
- Sandpapier: Zum Glätten von Ecken und Kanten oder Fülllinien.
- Grundierung & Farbe: Grundierung für einen soliden Untergrund und Ihre Wunschfarbe für ein langlebiges Finish.
- Winkelpinsel & Rolle: Ein Pinsel für Rillen und Kanten, eine kleine Rolle für flache Abschnitte.
- Malerband & Abdeckfolien: Zum Schutz von Fußleisten , Steckdosen, Böden und Möbeln.
Mit diesen wenigen wichtigen Dingen sind Sie bereit, ein sauberes, professionell aussehendes Ergebnis zu erzielen.

Schritt 1. Wählen Sie die richtige Lackierung
Beim Streichen von Wandpaneelen hat die Wahl der Oberfläche einen großen Einfluss auf das endgültige Erscheinungsbild. Matte Farbe sorgt für ein weiches, flaches Aussehen, kann aber leicht Flecken hinterlassen, während Glanzfarbe eine glänzende, reflektierende Oberfläche erzeugt, die Details hervorhebt, aber auch Unvollkommenheiten sichtbar macht.
Eierschalen- und Satintöne sind beliebte Mittelwegoptionen, die einen dezenten Glanz bieten, der leicht zu reinigen und haltbar ist, ohne zu stark zu glänzen.
Für Wandpaneele empfehlen wir die Verwendung einer Farbe mit geringem Glanz (z. B. Satin oder Eierschalenfarbe), da diese eine glatte Oberfläche mit Funktionalität verbindet und Ihre Paneele sowohl stilvoll als auch pflegeleicht macht.
Schritt 2. Die richtige Farbe auswählen

Sie haben also eine bessere Vorstellung davon, wie Sie Ihre Paneele streichen können, aber haben Sie sich auch für eine Farbe, einen Ton oder einen Stil entschieden, der Ihnen gefällt?
Das Schöne an Farbe ist, dass sie nicht dauerhaft ist. Im Gegensatz zu Tapeten oder festen Oberflächen lässt sie sich jederzeit erneuern, wenn sich Trends ändern oder sich Ihr Geschmack weiterentwickelt. Mit anderen Worten: Es muss keine einmalige Entscheidung sein.
Nachfolgend haben wir einige der beliebtesten Farboptionen zusammengestellt, um Sie für Ihr nächstes Projekt zu inspirieren – vom Badezimmer bis zum Wohnzimmer.
- Für ein modernes, ruhiges Ambiente
Sanfte Neutraltöne eignen sich hervorragend. Farbtöne wie warmes Beige, Taupe oder helle Grautöne schaffen einen dezenten Hintergrund, der die Textur der Verkleidung durchscheinen lässt. Der Farbton Skimming Stone von Farrow & Ball, den die Influencerin Rebecca Forrey für ihre Medienwand wählte , ist beispielsweise ein perfektes Beispiel für einen schicken Neutralton, der Eleganz verleiht, ohne den Raum zu überladen.
- Für Drama
Wenn Sie Ihre Wandverkleidung zum Blickfang im Raum machen möchten, setzen Sie auf mutige Töne. Dramatische Töne wie Dunkelgrün, Marineblau oder Anthrazit verleihen Fülle und Tiefe, betonen das Paneeldesign und schaffen eine gemütliche, kokonartige Atmosphäre. Die Wahl von Dulux Knotted Twine Silk für die MDF-Wandverkleidung im Wohnzimmer von My Home Inspo zeigt, wie ein satterer Ton das Ambiente komplett verändern und Wärme und Charakter verleihen kann.
- Für erhebende und frische
Für ein helles und belebendes Finish eignen sich Pastelltöne wie zartes Salbeigrün, zartes Rosa oder Puderblau. Diese eignen sich besonders gut für Schlafzimmer oder Kinderzimmer und verleihen ihnen einen verspielten und dennoch stilvollen Touch.
Schritt 3. Bereiten Sie die Oberfläche richtig vor
Das Geheimnis einer makellosen Lackierung liegt in der Vorbereitung. Sobald Ihre Paneele angebracht sind, schleifen Sie alle rauen Stellen leicht mit feinkörnigem Schleifpapier ab.
Achten Sie besonders auf die Spachtel- oder Dichtungsfugen an den Stellen, an denen die Platten auf die Wand treffen, um eine glatte, nahtlose Oberfläche zu schaffen. Wischen Sie Staub mit einem feuchten Tuch ab und lassen Sie die Platten vollständig trocknen.
Das Auftragen einer Grundierung ist besonders wichtig, wenn Ihre Platten aus MDF bestehen oder Sie einen dunkleren Farbton streichen. Die Grundierung blockiert Flecken, verbessert die Haftung und sorgt für ein sattes und gleichmäßiges Endergebnis. Kleben Sie Fußleisten, Steckdosen oder andere Bereiche ab, die Sie nicht streichen möchten, und schon kann es losgehen.
Schritt 4. Tragen Sie Ihre Farbe auf
Sobald die Grundierung getrocknet ist, ist es Zeit für die Farbe. Beginnen Sie mit einem hochwertigen Winkelpinsel, um die Rillen und Kanten der Verkleidung zu bearbeiten. Verwenden Sie anschließend eine kleine Schaumstoff- oder Kurzflorrolle für die größeren, flachen Bereiche. Tragen Sie die Farbe immer in dünnen, gleichmäßigen Schichten auf und bauen Sie die Oberfläche schrittweise auf.
Lassen Sie jede Schicht vollständig trocknen, bevor Sie die nächste auftragen. Normalerweise reichen zwei Schichten aus, bei dunkleren Farbtönen kann jedoch eine dritte Schicht erforderlich sein, um die volle Farbtiefe zu erzielen. Überprüfen Sie die Farbe sorgfältig und bessern Sie alle übersehenen Stellen oder Unebenheiten aus.
Extra-Profi-Tipp: Prüfen Sie bei Seitenlicht: Schatten verstärken Unvollkommenheiten auf gerippten Platten. Leuchten Sie nach jedem Anstrich mit einer Lampe seitlich, um Tropfen oder Grate zu erkennen, bevor die Farbe vollständig ausgehärtet ist.
Schritt 5. Beenden und schützen Sie Ihre Arbeit
Wenn die letzte Schicht getrocknet ist, ziehen Sie vorsichtig das Malerband ab, solange die Farbe noch leicht klebrig ist, um klare, saubere Kanten zu erhalten. In stark frequentierten Bereichen wie Fluren oder Wohnzimmern empfiehlt sich ein schützender, abwischbarer Deckanstrich, damit Ihre Paneele länger frisch und kratzfrei aussehen.
Treten Sie abschließend einen Schritt zurück und bewundern Sie Ihre harte Arbeit und Ihre frisch gestrichenen Wandpaneele!
Der letzte Schliff
Das Streichen von Wandpaneelen ist eine der einfachsten Möglichkeiten, Ihre Wohnkultur aufzufrischen. Ob sanfte Neutraltöne, kräftige Juwelentöne oder trendige Pastelltöne – mit Farbe können Sie Ihren Raum mit minimalem Aufwand individuell gestalten.
Mit der richtigen Vorbereitung und der richtigen Farbwahl verleihen Sie Ihrer Verkleidung nicht nur architektonische Reize, sondern geben auch den perfekten Ton für Ihren Einrichtungsstil an.


