How to Install Bathroom Wall Panelling
Ever opened the door to a bathroom and felt that design glow? Atmospheric lighting, luxurious fittings, and often, beautifully textured wall panelling.
Sometimes that aesthetic feels unattainable, but it’s not.
In fact, installing bathroom wall panels is totally doable for most DIY enthusiasts. And unlike tiles, panels are quicker to install, often more affordable, and can be more customisable - especially with paint!
Want to give your bathroom interior an uplift? Here’s a step-by-step guide on how to install bathroom wall panelling.
So, how do you install wall panelling in a bathroom?
Panelling can be both decorative and functional, so it’s important to think about both aspects when choosing your product.
We’ve found that half height panelling is a really popular choice for small bathrooms, giving the room a spacious but cosy feeling. Equally, panelled feature walls - such as those placed behind a freestanding bathtub - create a striking focal point that adds a sense of luxury to the space.
Need a visual guide? You can watch the panelling process step-by-step on our Instagram page.
Please note: Although our panels are moisture resistant, they’re not waterproof, so they shouldn’t be in regular direct contact with water, e.g. a shower enclosure or splashback.
Also, did you know you can install panels directly over existing tiles? It’s a simple way to give your bathroom a fresh new look.
Here’s how to get started…

Before You Begin: Prep Your Bathroom Walls
When fitting panels in a bathroom, the wall surface is key to getting a strong and lasting finish.
-
Plasterboard – Moisture-resistant plasterboard (usually green) is a good option if it’s well fixed and sealed.
-
Concrete or Masonry – Walls should be clean, dry, and repaired before installation.
-
Existing Tiles – Panels can go over tiles if they’re secure, clean, and grease-free, just replace or repair any loose ones.
To prep properly:
Make sure the wall is solid and doesn’t flex, as movement can cause leaks or panels to come loose.
- Make sure the wall is solid and doesn’t flex, as movement can cause leaks or panels to come loose.
- Fix very uneven walls with a timber frame to create a flat base.
- Clean away dust, dirt, or grease so the panels stick well.
- Always let the surface dry completely to avoid trapping moisture and causing mould.
Step 1: Pick out your panelling
Before you do anything, you need to choose the style of panels you want.
Things you can look out for:
- Panels that are water-resistant: In high-humidity rooms like bathrooms, it’s important to install water-resistant panelling to keep the panels as durable as possible.
- Customisable: You might also want to look for panelling that gives you as much customisation as possible, such as being able to choose exactly what colour you’d like.
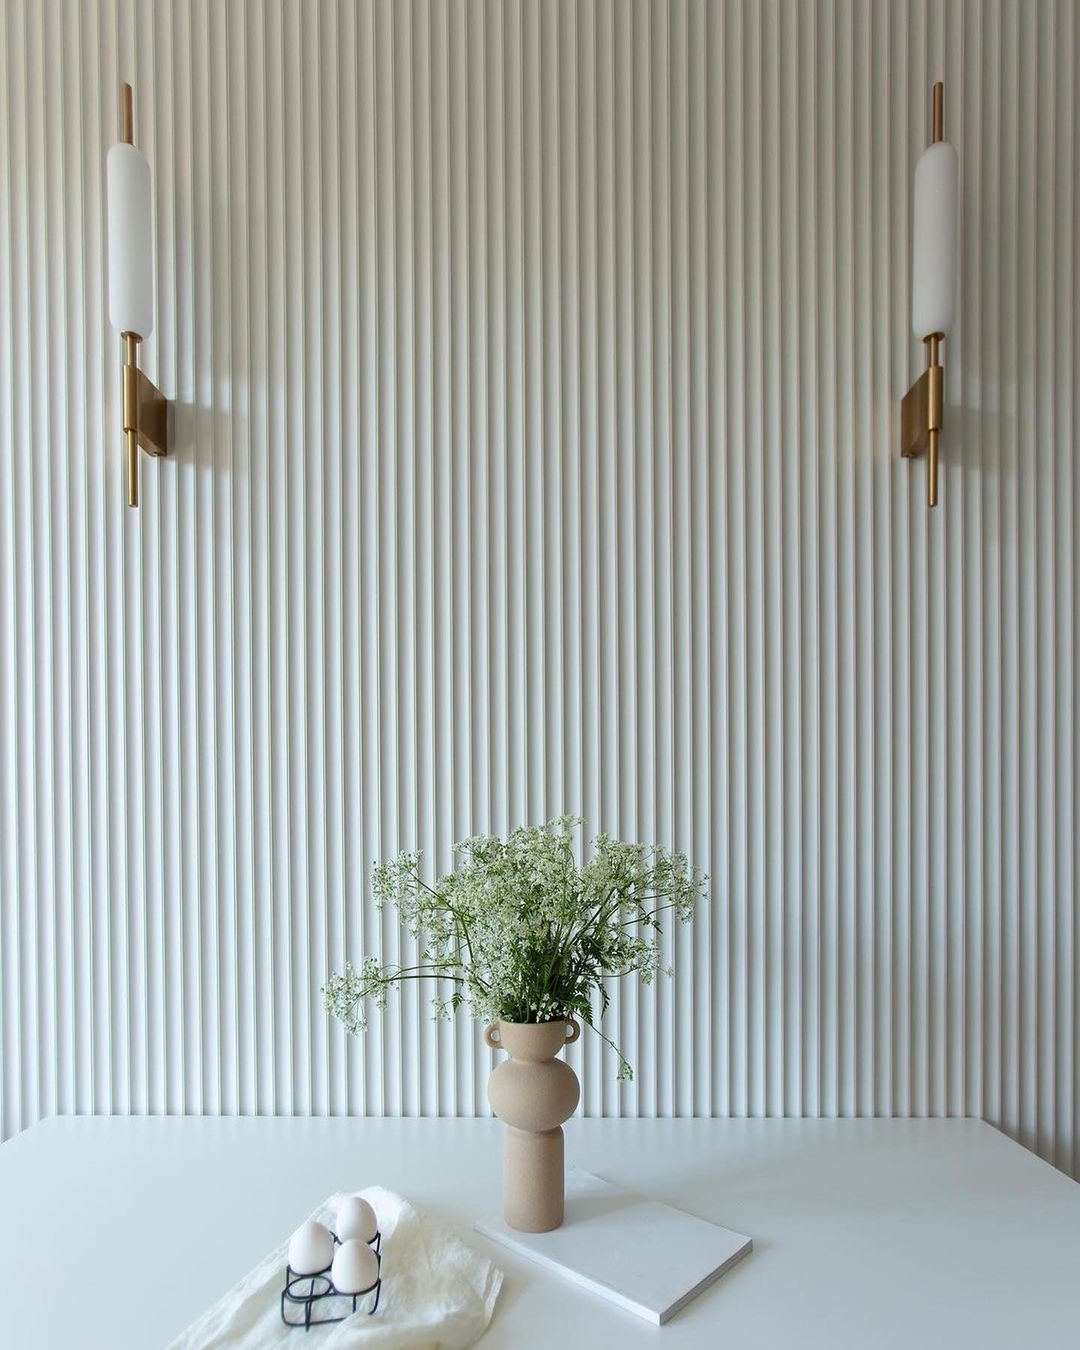
We offer a huge range of moisture-resistant, paintable MDF panels, that are an excellent choice for bathrooms, from modern designs such as soft ribbed to traditional panels like tongue and groove.
Step 2: Gather your materials and tools
Once you’ve chosen your panels, you’ll need to gather some other equipment, which includes:
- Sheeting to cover your area
- Waterproof adhesive and sealant
- A circular or miter saw (if cutting yourself)
- Spirit level and tape measure
- Light to medium grit sandpaper (optional)
- Primer & paint
- Paintbrushes (an angular or foam brush for deep grooved panels)
Step 3: Plan your layout
You want your bathroom panelling to fit perfectly.
Measure your walls before purchasing your panels. Use our cut to size service for bespoke panel dimensions. Or, cut the panels yourself, using a circular or mitre saw - always cut on the outside of your measurements, as you can cut more off if needed.

Step 4: Fix your panels
When you’re ready to install, apply a waterproof grab adhesive evenly on the back of the panel. Press it firmly onto the wall and make sure it’s sitting just right. If there are any small gaps between panels, fill them with a little extra adhesive for a neat, seamless look.
Wipe away any excess with a damp cloth before it dries.
Give the adhesive time to set (at least 24 hours is best). And for extra peace of mind, you can add a few nails to the corners for extra stability – this is a great choice for heavier panels.
Most of the time, our wall panels don’t need sanding. But if the surface feels a little rough or you spot any small imperfections, a quick once-over with medium to fine grit sandpaper will do the trick and will also help your primer stick better.
Once all panels are in place, seal joints and edges with waterproof silicone. Pay particular attention to corners, joins, and areas around baths or sinks. A neat bead of silicone will prevent water ingress and give a polished look.
Step 5: Paint your panels
Wipe panels down with a damp cloth to remove dust or adhesive residue. Fit trims around windows, doors, and ceiling lines for a professional finish.
Before painting our panels, make sure you use a moisture-resistant primer followed by a bathroom-suitable paint, like acrylic eggshell, satin or specialist bathroom paints.
And then once all that hard work is done, you can then sit back and marvel at your gorgeous results.

What bathroom panels do we offer?
We believe that stylish and easy-to-install wall panels should be accessible to everyone.
Our paintable MDF wall panels are made with moisture‑resistant MDF, making them perfect for high‑humidity spaces like bathrooms.
Browse our full bathroom range here and start your transformation today!


